
If you haven't been following, Your Next Stamp is doing a series on the 12 Days of Gift Giving with the Design Team making items for easy gift giving ideas using various dies in the YNS Store. Today is day 7 and I am happy to share with you an easy ornament using simple circle dies and the Bookmark/tag die set.
One of my sons plays Lacrosse and during the season last Spring, we received some wonderful action shots during the championship game. I thought it would be a fun idea to make an ornament using one of the shots to remember that game and for my son to have a memory item for the tree. Here are the dies I used to make this project:
To start, I chose a photo I wanted from my computer to be printed out on basic card stock. This was ok to do because I knew I was going to laminate it. You could always print it out on photo paper to eliminate the lamination. Once I found the picture, I used Photoshop to size it so that when I cut it out using my dies, the main image will be centered. Once printed, I cut the photo out and placed it in between the laminating sheets and ran it through the lamination machine.

When that was finished, I ran the picture through my die cutting machine with the chosen circle size for the ornament.

Using red card stock, I used the largest sized Bookmark die to be the topper of the ornament, cutting about 3/4 of the size. You could always shorten it to your liking since you will have two circles holding this in place.


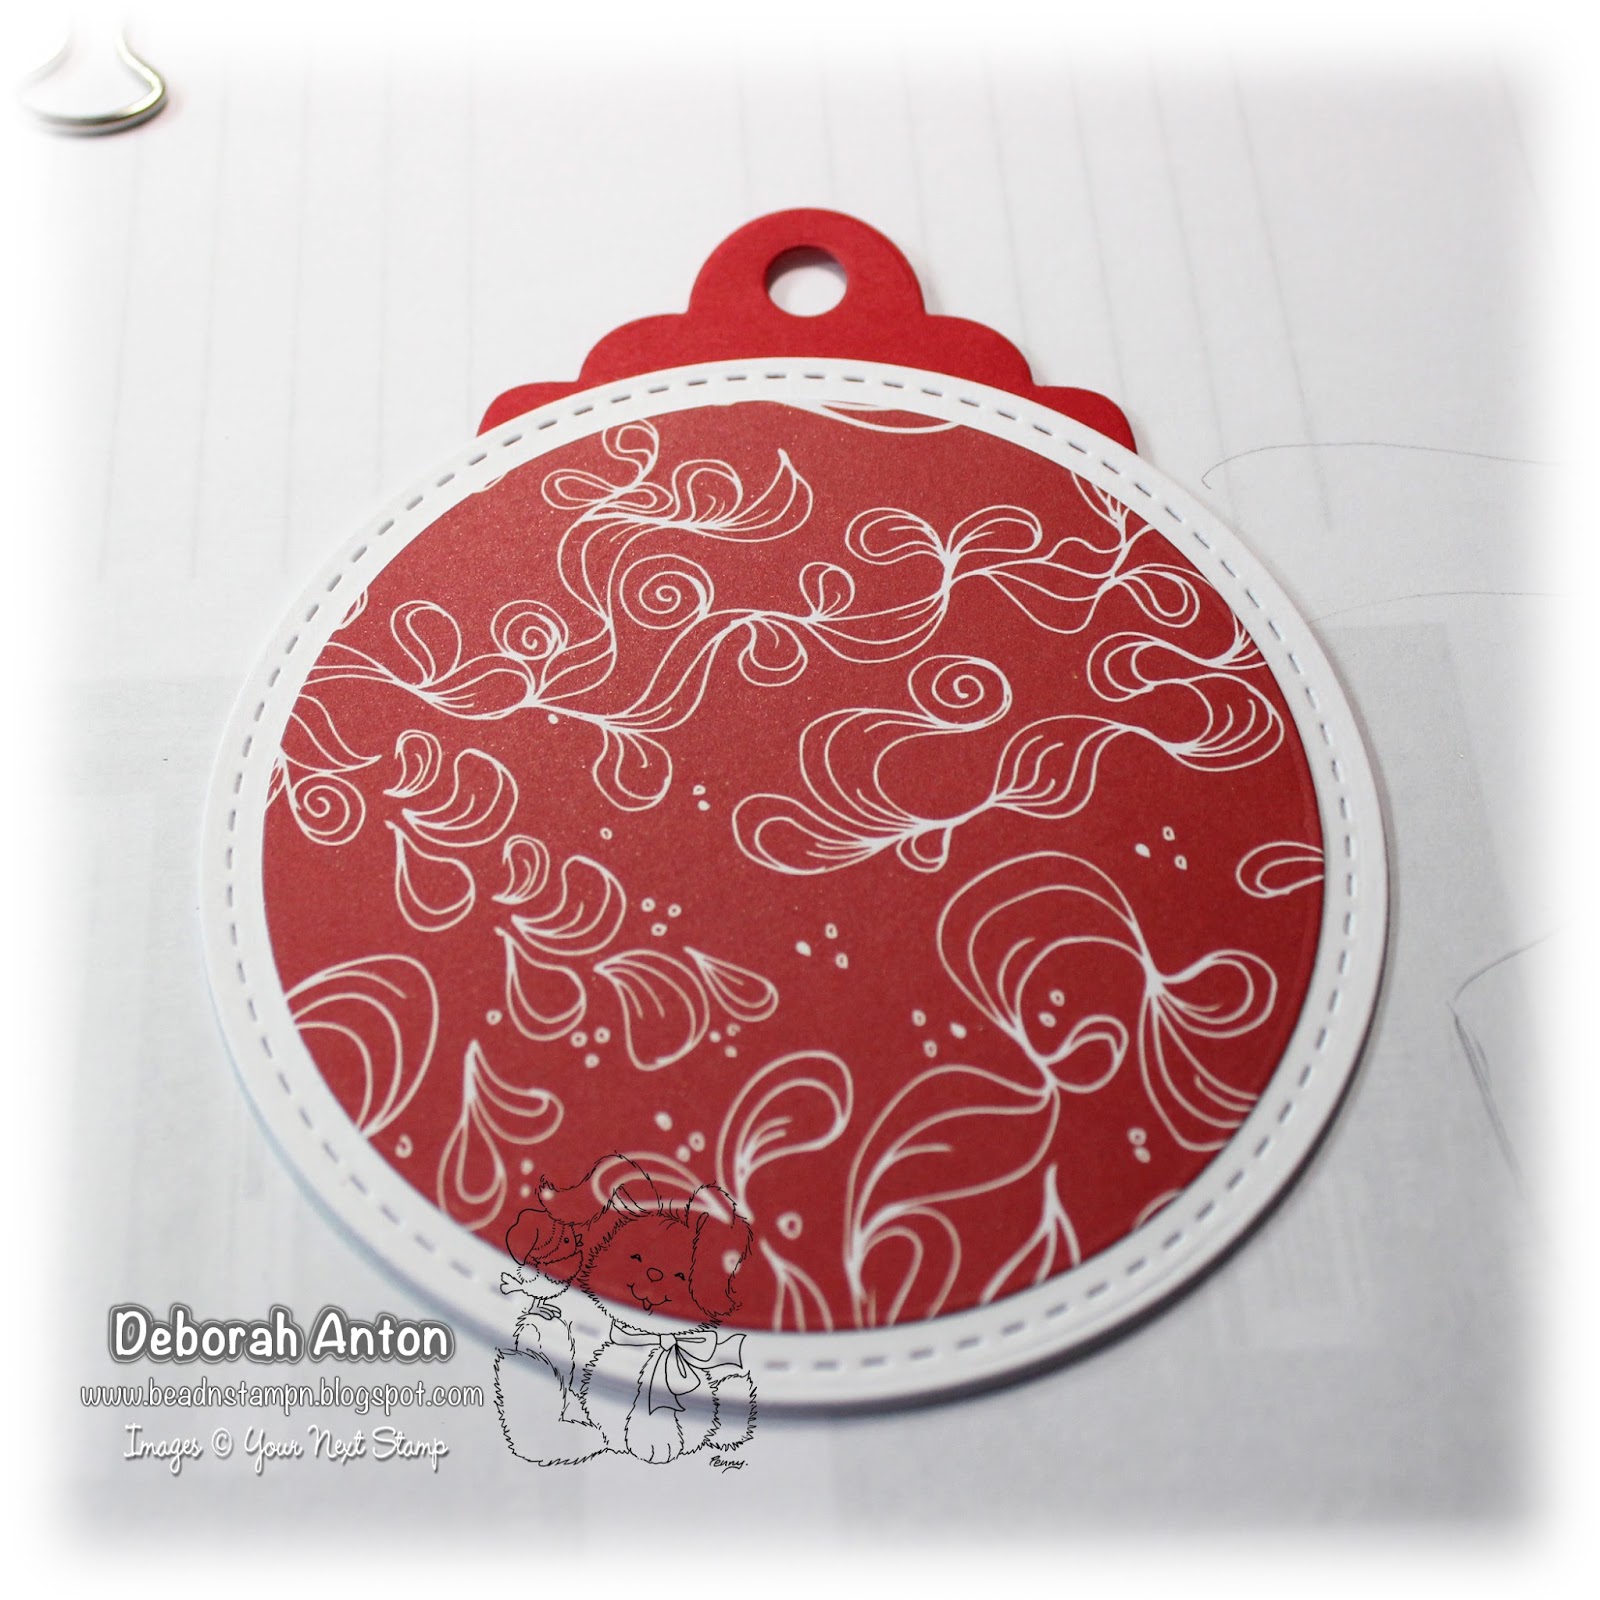
Speaking of two circles, I used the largest sized Circle Die to cut out two circles to be the "ornament ball." This is also the time to use the coordinating stitched circle marks to stitch the outline of one (or both) of the circle.

Adhere the circles to the tag to make it now come to life as an ornament. I use scrap paper of things printed in our house that is not being used as my stamp off pad, so I am sorry for the additional background images! :)


The ornament is starting to take shape, but I wanted to add a little more. It needed some wording, so I used my Silhouette Cameo to cut out the year, the team name, and LAX in black card stock.

I positioned the lettering where I wanted it before adding some glue dots to the back and placing them on top using my fine needle tipped tweezers.

This is almost done, but it needs some ribbon for hanging and of course just a little bit of bling by using the new Holly Jolly gumdrops.

Because this was for my son, I knew I couldn't bling it up too much or girly-fy it with more ribbon. I kept it simple and this project makes for an easy project for all ages! Here is the finished look on the tree:

I sure hope you enjoyed this tutorial and hoped I was able to help with another idea for gift giving this year. You can find all the dies and gumdrops mentioned in the YNS Store ready for your creative ideas. Thanks so much for stopping by and hope you have a great start to the week!

No comments:
Post a Comment
I love hearing from you...Thank you for taking the time to leave your kind comments!